子域名申请Lets Encrypt SSL证书的步骤
发布于 分类 Nginx
93天前 有1个用户阅读过
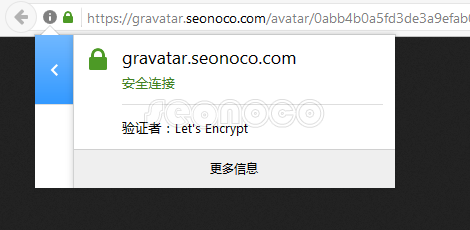
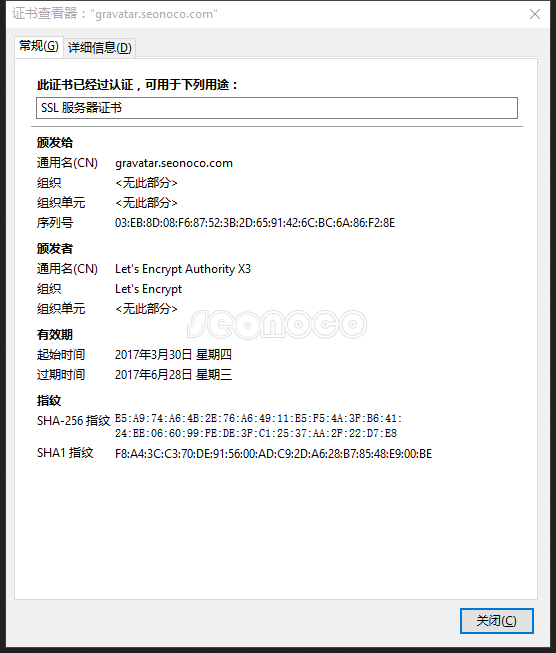
给gravatar.seonoco.com申请了一个免费SSL证书,虽然是第一次使用Let's Encrypt SSL证书,但它的大名早有耳闻。废话完毕!
Let's Encrypt 证书
Let's Encrypt 证书的申请需要一点点动手能力,它提供了一个官方的脚本生成工具 certbot,只支持 Unix-liked 系统,把脚本下载本地,并添加执行权限。
wget https://dl.eff.org/certbot-auto
chmod a+x certbot-auto
certbot 支持几种不同的插件(apache、webroot、standalone、manual、nginx),用来获取和安装证书。但插件 nginx 还是试验阶段,可以使用 webroot 或 standalone 插件。区别是 webroot 插件用在已经运行着网站的服务器上,可以通过指定网站的目录来获取并安装证书:
./certbot-auto certonly --webroot -w /var/www/example/ -d www.example.com -d example.com -w /var/www/other -d other.example.net -d another.other.example.net 而 standalone 插件则用在本地机器上,通过指定网站的域名来获取和安装证书。
./certbot-auto certonly --standalone -d example.com -d www.example.com 也可以这样,根据提示操作
./certbot-auto certonly --standalone 看到这样的信息就表示成功了,提示 Congrantulations!
对了,安装之前要先停止占用80,433端口的程序!完成之后再启动即可!
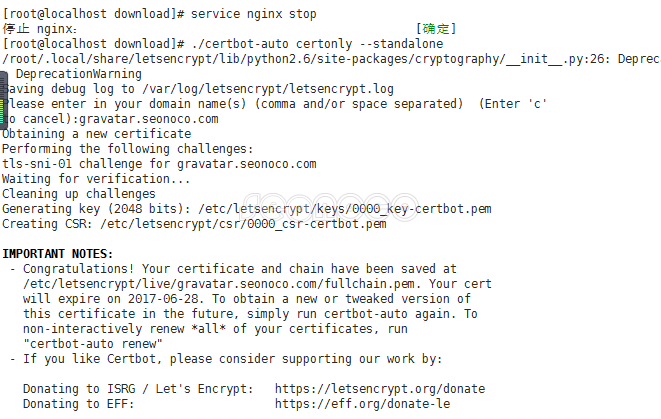
证书文件可以在这里找到
/etc/letsencrypt/live/Let's Encrypt 的证书有效期是三个月,可以用letsencrypt renew命令重新激活。最后就是将证书的路径写入到 Nginx conf 配置里。
在web服务配置中添加SSL后大功告成!
-- The End --